


Every payment your practice earns follows the same path. It starts with a patient booking an appointment and ends when the money is posted, reconciled, and reported. When each stage runs without errors, cash flows in on schedule and your team spends less time chasing payers.
A peer-reviewed JAMA study found administrative complexity, including billing and coding, to be the single largest source of waste in US healthcare. It roughly accounts for $265.6 billion a year. A well-run revenue cycle keeps your practice out of that number.
What Is Revenue Cycle Management?
Revenue cycle management is the full financial process behind a patient visit. It covers everything from confirming insurance before the appointment to collecting the final balance and reading the reports afterward. Medical billing is one piece of it, not the whole thing.
The trouble lies in the handoffs between the individual tasks. A registration typo, a missed benefit check, a wrong code: each one travels downstream and shows up as a rejected claim later. If you want to strengthen the whole RCM cycle, our guide to revenue cycle management best practices is a good companion.
TL;DR
The 13 steps of revenue cycle management are like a relay. Each step carries the baton to the next, and a clean pass early on means a paid claim at the finish. When you can see the whole cycle, you can find the handoff costing you and fix it.
The goal of in-house RCM or outsourced RCM is the same. It should lead to cleaner claims, faster payments, and a calmer front office. If you want a partner who plugs into your workflow and follows your protocols, schedule a free consultation.
The 13 Steps of Revenue Cycle Management
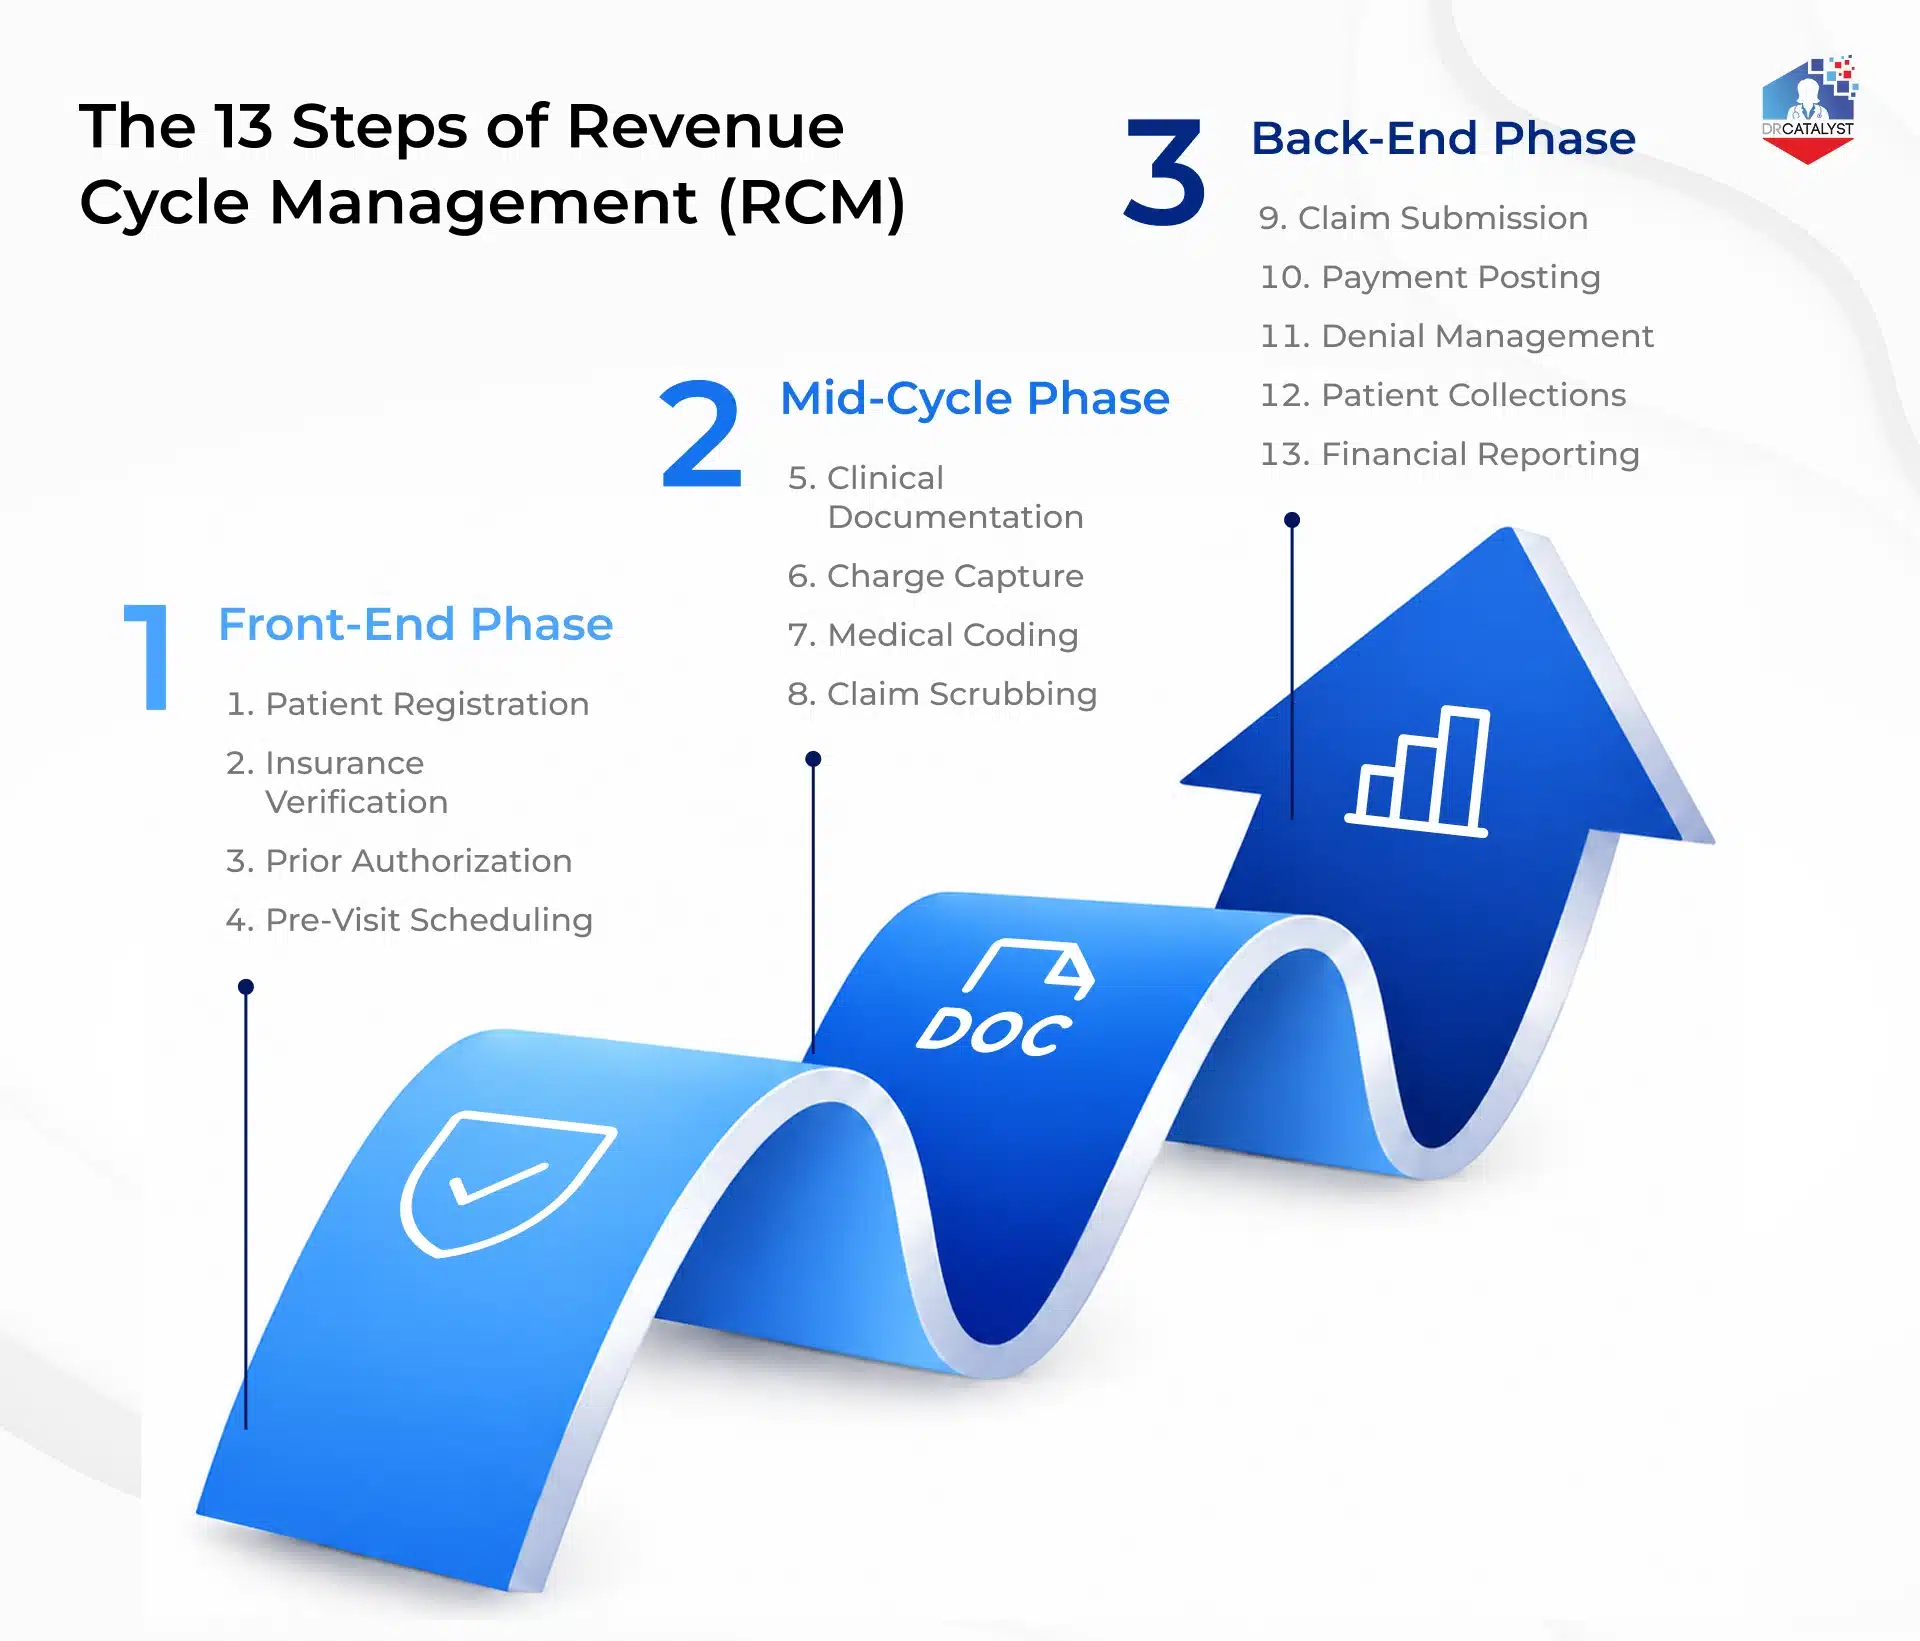
The cycle splits neatly into three phases. The front end happens before and during the visit. The middle turns care into a claim. The back end collects the money and tells you how you did. Here are the RCM steps in medical billing, in order.
Step 1: Pre-Registration
The cycle begins before the patient walks in. During pre-registration, your team gathers demographic and insurance details when the appointment is booked. Getting the payer, plan, and policy number right here sets up every step that follows.
Step 2: Registration
Registration confirms and completes what pre-registration started. At check-in, staff verify the patient’s identity, address, and coverage, then capture consent forms and any secondary insurance. Accuracy matters because these fields print on the claim. One wrong digit in a member ID can stall payment for weeks.
Step 3: Eligibility and Benefits Verification
Next, you confirm the patient is covered for the visit. Eligibility checks tell you whether the plan is active, what the copay is, and how much of the deductible remains. This is one of the highest-value steps in the cycle. Verified benefits mean fewer surprise balances for patients and fewer denials for you.
Step 4: Prior Authorization
Some services need the payer’s approval before they happen. Prior authorization is where you request that green light and document it. Medicare Advantage insurers made nearly 53 million prior authorization determinations in 2024, and about 7.7% were denied. Securing authorization up front protects the payment down the line.
Step 5: Charge Capture
Now the visit happens, and charge capture records what was done. Every service, procedure, and supply gets logged so you don’t miss anything billable. When charge capture is complete, your claim reflects the full value of the care delivered.
Step 6: Medical Coding
Coding translates the visit into the language payers read. Coders assign ICD-10 diagnosis codes and CPT procedure codes that match the documentation. CMS publishes the official ICD-10 code sets and guidelines coders use.
Step 7: Clearinghouse Scrubbing
Before a claim reaches the payer, a clearinghouse checks it for errors. Scrubbing flags missing fields, code mismatches, and formatting problems so you can fix them first.
Step 8: Claim Submission
With codes in place, you build the claim and send it to the payer. Original Medicare requires claims within 12 months of the date of service, and many Medicare Advantage plans allow only 90 to 180 days. Submitting promptly keeps the clock on your side.
Step 9: Payment Posting
Once the payer processes the claim, payment posting records the results. Your team logs the paid amount, applies adjustments, and notes any patient responsibility. Posting also reveals patterns, like a payer that routinely underpays a certain code. Reading those signals early helps you act before the gap widens.
Step 10: Denial Management
Not every claim gets paid the first time. Denial management is where you work the rejections, correct them, and resubmit. The initial claim denial rate climbed to 11.81% in 2024, so this step directly guards your revenue.
Step 11: Accounts Receivable (A/R) Follow-Up
Some claims are neither paid nor denied. They simply sit there. A/R follow-up means chasing them down, tracking what is aging, calling payers, and pushing stalled accounts until something moves. Collection gets measurably harder the longer an account ages, so practices with low A/R days are usually just the ones who picked up the phone sooner.
Step 12: Patient Statements and Collections
With the payer’s share settled, attention turns to the patient balance. Clear statements and friendly reminders help patients pay what they owe without confusion. High deductibles have made this step bigger than it used to be. A respectful, easy-to-follow process protects both your revenue and the patient relationship.
Step 13: Reporting and Analytics
Reporting tracks metrics like clean claim rate, denial rate, and days in A/R. These numbers point you back to the exact step that needs attention. Meaningful analytics turn one full cycle into a smarter next one. To see where the field is heading, our overview of revenue cycle management trends is worth a read.
Managing All 13 Steps Without Losing Your Team
Front-desk staff verify benefits between phone calls, coders juggle changing rules, and someone still has to work denials and chase A/R. When your team is stretched, handoffs suffer first.
This is where DrCatalyst fits in. Dedicated remote RCM specialists log into your existing EHR and PM system. They follow your exact practice protocols and handle the steps that are time-consuming for your team. DrCatalyst works with 60+ EHR/PM systems, or can provide one. An exclusive account manager serves as your billing consultant, supported by a separate quality assurance team and AAPC-certified coding support behind every claim. See how our RCM solutions fit your practice.
Our new clients see an average 18% increase in monthly revenue. We promise HIPAA compliance and a signed Business Associate Agreement with 3+ levels of supervision. If you are weighing the model, our guide to outsourcing revenue cycle management lays out how it works.
FAQs
The revenue cycle runs from pre-registration through reporting. A common breakdown lists 13 steps: pre-registration, registration, benefits verification, prior authorization, charge capture, coding, clearinghouse scrubbing, claim submission, payment posting, denial management, A/R follow-up, patient statements, and reporting. Together, they move a visit from booking to fully paid.
Medical billing builds and sends the claim and posts the payment. Revenue cycle management is the larger process around it, starting before the visit with scheduling and eligibility and ending with collections and reporting. Billing is one stage inside the cycle, not a substitute for it.
It depends on how finely you slice it. Some sources list as few as 7 and others up to 16. This guide uses 13 because that level of detail makes each handoff clear. The exact count matters less than covering the front end, middle, and back end completely.
There is no single winner, but benefits verification and prior authorization carry outsized weight. Many denials trace straight back to a coverage or authorization gap missed before the visit. Getting the front end right is the cheapest way to protect payment later in the cycle.
Start at the front end, where most denials begin. Verify eligibility, secure prior authorization, and confirm patient data before the visit. Then scrub claims through a clearinghouse before submission, and address every denial promptly to fix the root cause. Tracking your denial rate over time shows whether your efforts are working.